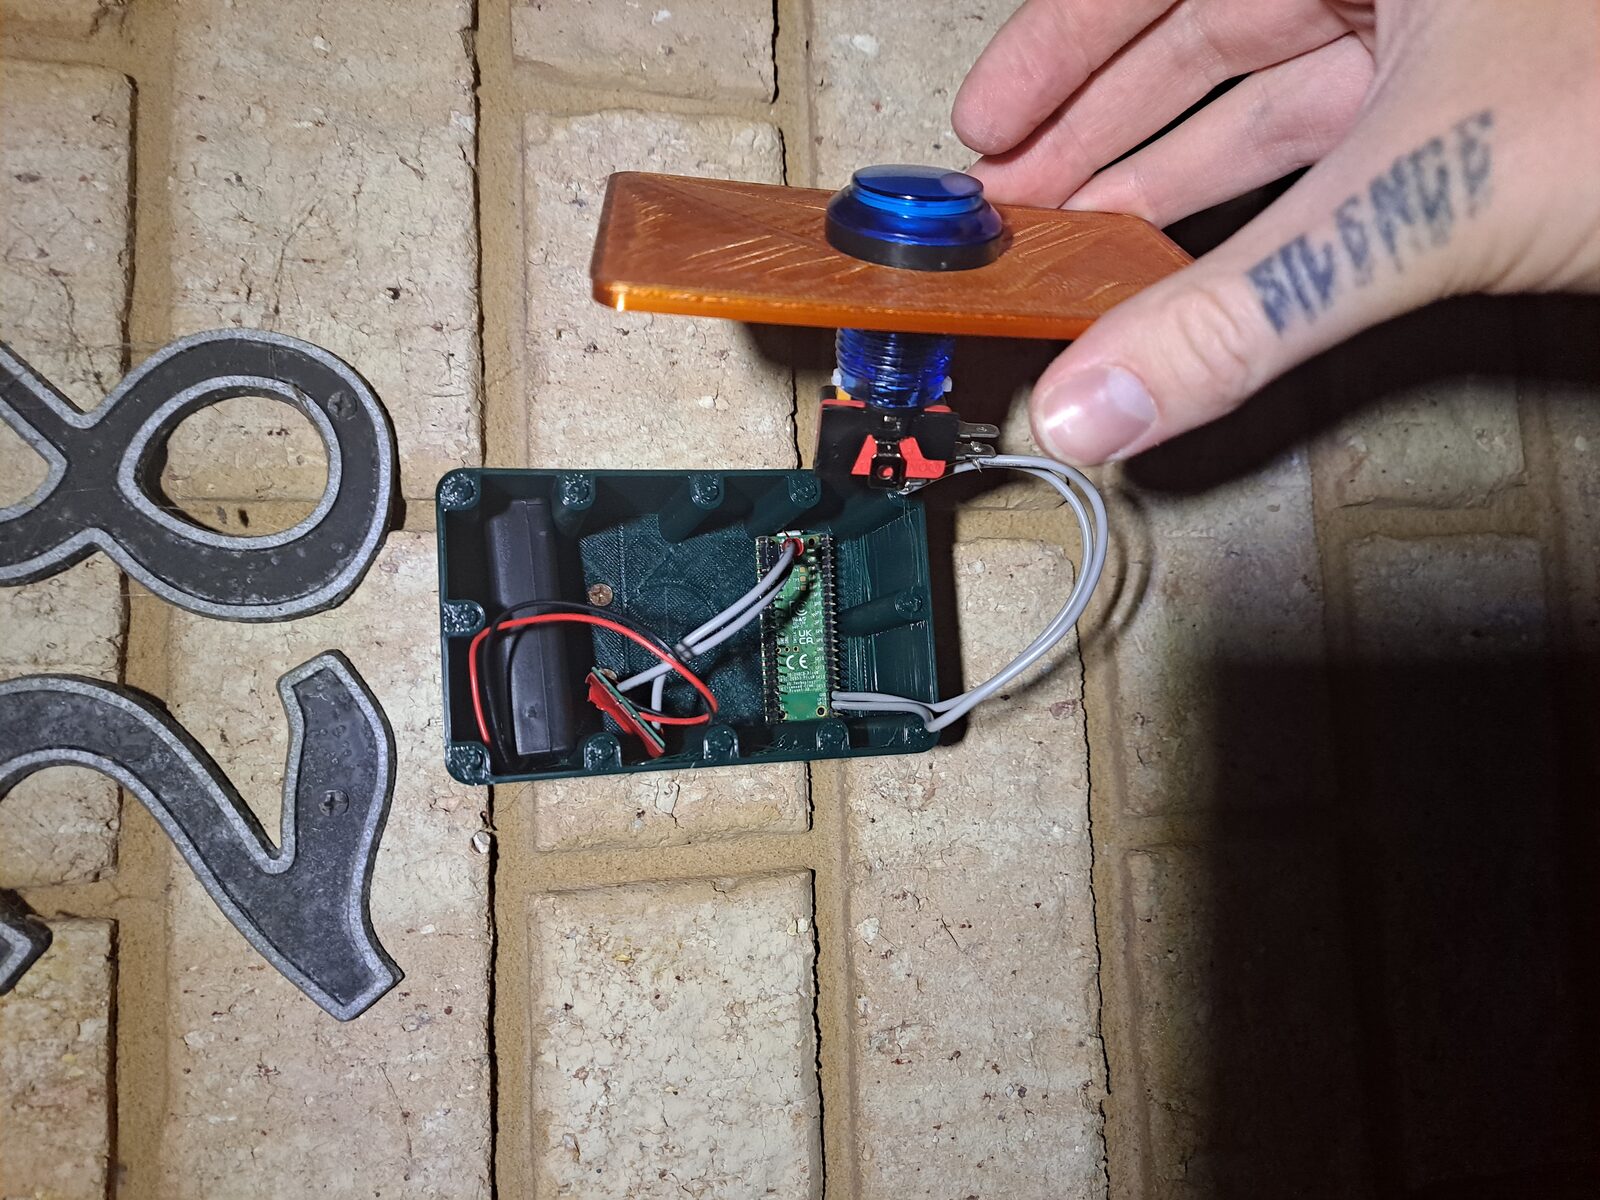
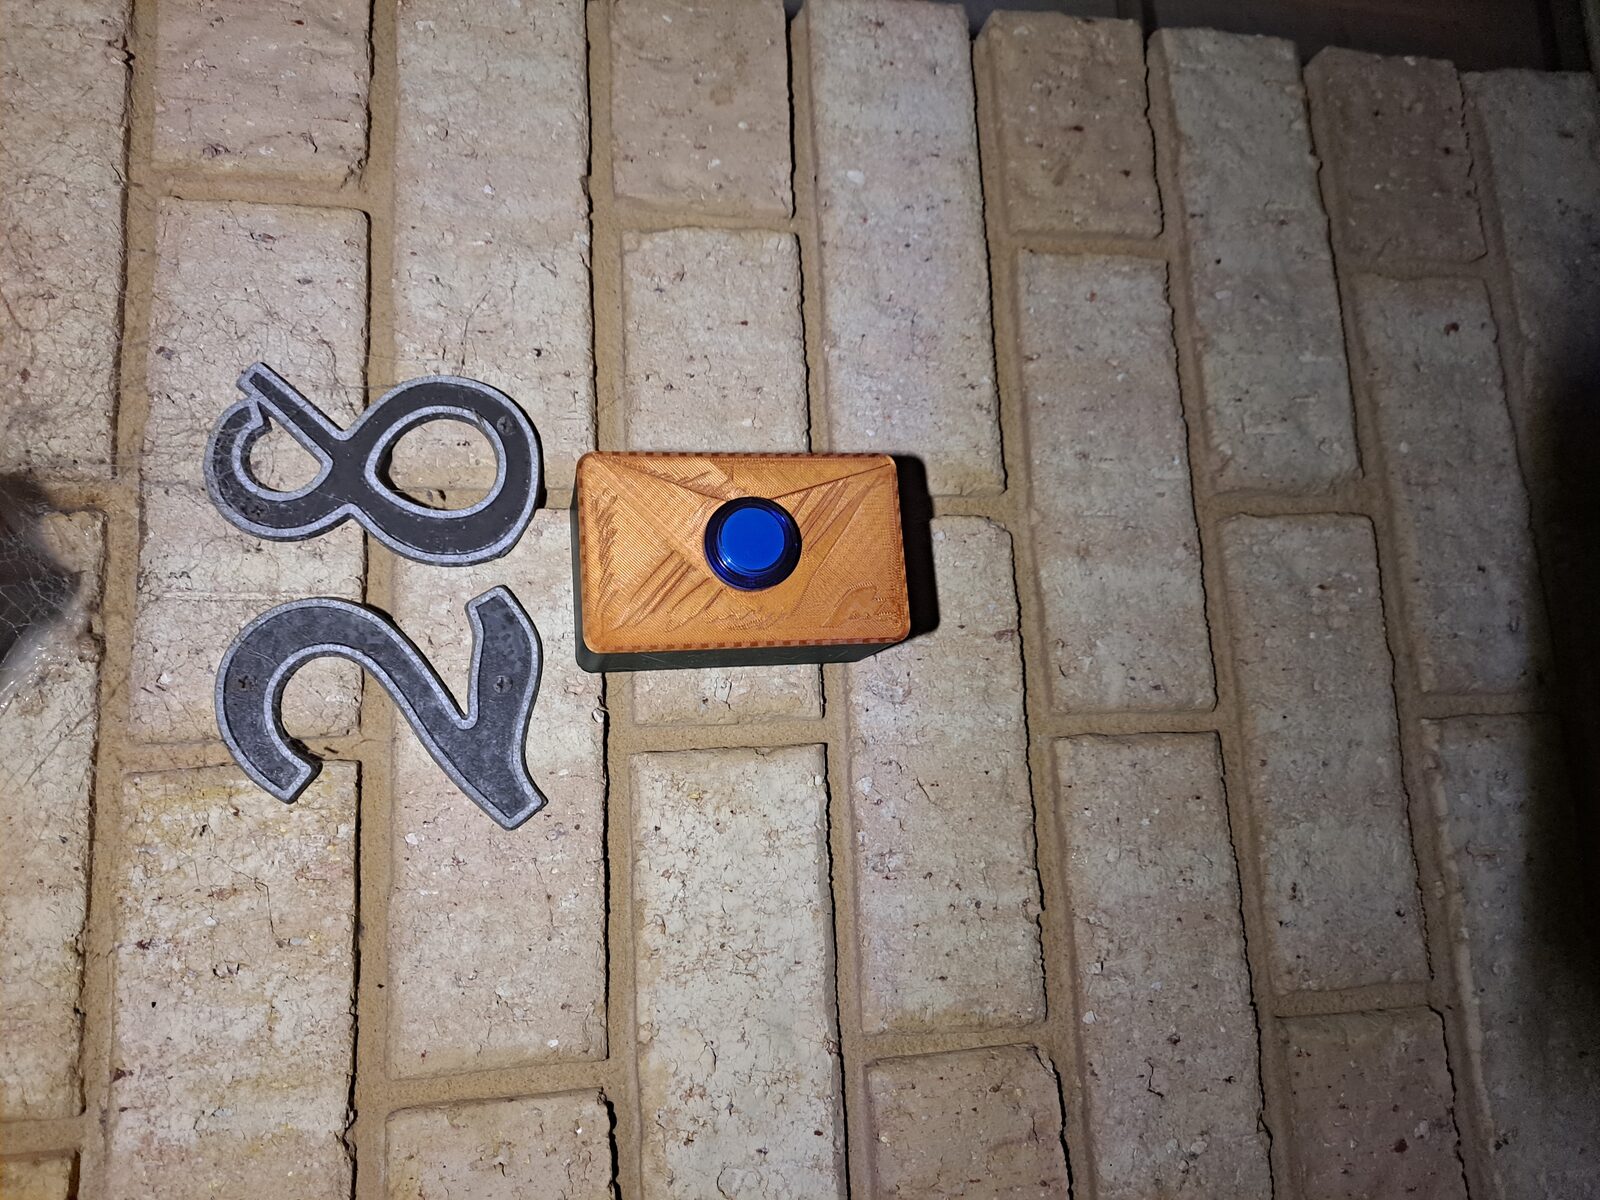
Parts List
- RaspberryPi Pico W (with headers)
- 30–33mm Arcade push button
- Power supply for the Pico (AAA battery bank or LiPo)
- Dupont cables
- Computer with a speaker (for the server)
Programming
-
Set up the Flask server
Install Flask on your computer if you haven't already, then create the server file below. Replace
path/to/audio.mp3with the path to your Wilhelm scream (or other audio file). if you need a copy of the scream, you can download it from herePython — doorbell_server.py# Run with: python doorbell_server.py # Trigger with: curl -X POST http://localhost:5000/play_audio from flask import Flask import os app = Flask(__name__) @app.route('/play_audio', methods=['POST']) def play_audio(): os.system('aplay path/to/audio.mp3') return 'Audio played', 200 if __name__ == '__main__': app.run(host='0.0.0.0', port=5000)pip install Flask -
Install MicroPython on the Pico W
Download the latest MicroPython
.uf2firmware from micropython.org, hold the BOOTSEL button while plugging in the Pico, then drag the file onto the drive that appears. -
Flash the Pico W firmware
Create a new file on the Pico W (e.g. using Thonny) and paste the code below. Replace the Wi-Fi credentials and
SERVER_IPwith your server's local IP address.MicroPython — main.pyimport network import urequests import machine import time # Wi-Fi credentials SSID = 'your_wifi_ssid' PASSWORD = 'your_wifi_password' # Button on GPIO 14 button = machine.Pin(14, machine.Pin.IN, machine.Pin.PULL_UP) # Connect to Wi-Fi wlan = network.WLAN(network.STA_IF) wlan.active(True) wlan.connect(SSID, PASSWORD) while not wlan.isconnected(): time.sleep(1) print('Connected to Wi-Fi') url = 'http://SERVER_IP:5000/play_audio' def play_audio(): try: response = urequests.post(url) print('Response:', response.text) except Exception as e: print('Failed to send request:', e) while True: if not button.value(): # Button pressed (active low) play_audio() time.sleep(1) # Debounce delay
Assembly & Enclosure
For the enclosure, I repurposed an old project box and drilled holes for the button and cables. The Pico W is mounted inside with hot glue, and the button is connected to GPIO 14 and GND using dupont wires. You can customize the enclosure however you like – 3D printing, laser cutting, or even a vintage tin box would work great!
Testing & Usage
With everything set up, press the arcade button and enjoy the dramatic Wilhelm scream echoing through your home! You can further customize the system by adding more buttons for different sounds, integrating with smart home devices, or even creating a web interface to trigger the sounds remotely.
Next Steps & Improvements
If you don't have a spare pico or just want to hear the scream without building the hardware, Just press the button below... (this used to be wired up to play the sound on my local server, but y'all crazy kids drove me insane with the traffic so I had to disable it 😭)
Future improvements could include adding a camera to capture visitors' reactions, integrating with a smart doorbell system, or even creating a mobile app for remote triggering.